
How To Shoot Stunning Photos And Videos In One Session
Feb 10, 2026Did you know that capturing both photos and videos in a single session can significantly cut your production time and costs? For businesses and individuals alike, the ability to combine these two important media forms is crucial. By optimizing your photography and videography workflow, you can maximize your creative output while minimizing your budget. In this extensive guide, we will explore the benefits of integrating photo and video shoots, provide actionable tips to streamline your sessions, outline the best practices for ensuring quality, and consider essential tools to make the process seamless.
The Benefits of Combining Photography and Videography
Today, marketing strategies revolve around eye-catching visuals that can engage an audience quickly. Whether for product promotions, social media campaigns, or corporate events, having high-quality images and video content can provide numerous advantages:
1. Cost Efficiency: Shooting both photos and videos during the same session can drastically lower costs. Instead of hiring separate professionals and renting equipment multiple times, you can streamline logistics, travel, and resources. Thus saving not only money but also time.
2. Consistent Aesthetic: Maintaining a cohesive look across different media formats is essential in branding. By shooting everything together, you ensure that the style, lighting, and background remain consistent, which enhances the overall quality of your content.
3. Time-Saving: Scheduling separate shoots creates unnecessary delays, especially when trying to align schedules with various vendors, clients, and locations. By consolidating your projects into one session, you can achieve all necessary footage and imagery in a fraction of the time.
4. Flexibility for Editing: Some moments may lend themselves better to photos, while others shine in video. Having both means you can select the best representations of your narrative during the editing phase without needing to compromise on quality.
5. Enhanced Creativity: The dynamic nature of shooting both mediums can stimulate creativity. Photographers and videographers can collaborate closely, working off each other's ideas, thus leading to innovative outcomes that may not occur in isolated sessions.
Planning the Shoot
To maximize your efficiency, everything begins with solid planning. Below are guidelines on how to prepare effectively for a combined photo and video shoot:
1. Define Your Goals: Outline what you hope to achieve during the shoot. This could involve specific product launches, brand promotion, or event documentation. Clear goals will guide every decision to ensure the shoot aligns with your vision.
2. Create a Shot List: A detailed list of required shots—both static and dynamic—is crucial. This document should categorize shots based on priority and should indicate whether they pertain to photos or videos. This way, no vital elements are overlooked.
3. Scout Locations: The choice of location can impact both photography and videography. Scouting locations ahead of time allows you to visualize the setting, assess lighting conditions, and determine the best angles for both formats.
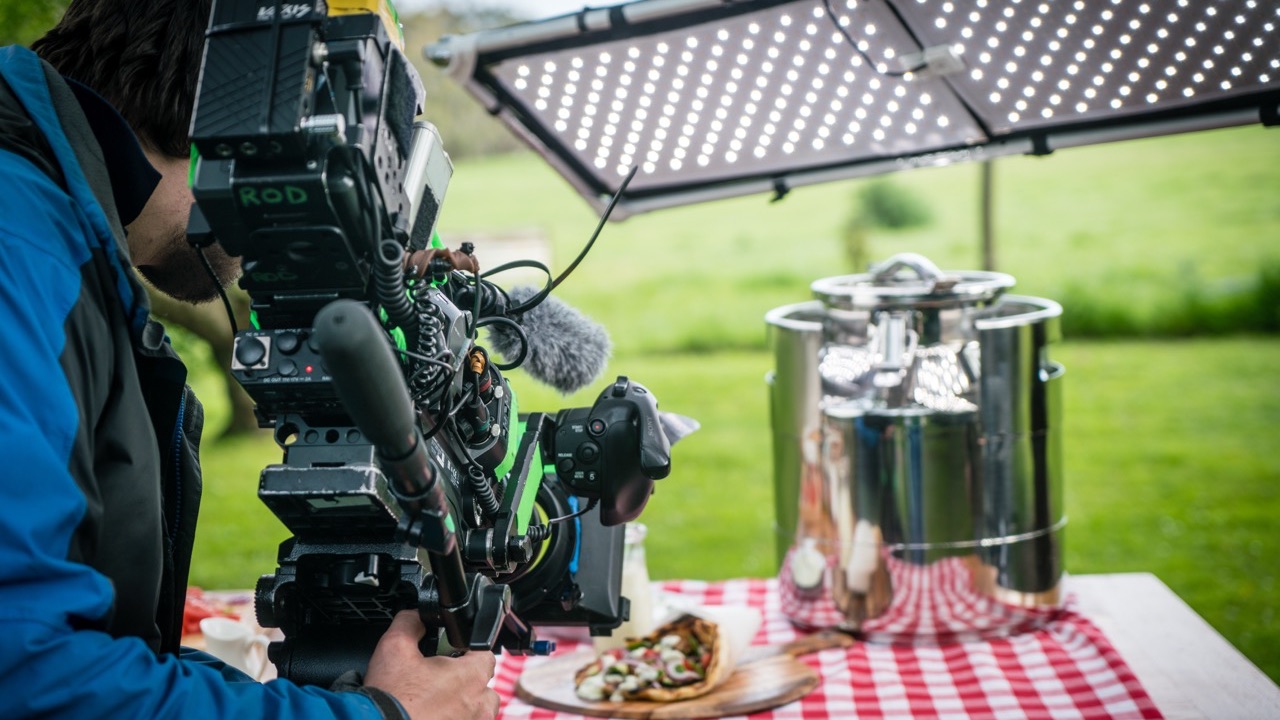
4. Gather Equipment: Ensure you have the necessary equipment on hand. Essential items include:
- Cameras for stills and video
- Tripods, stabilizers, or gimbals for dynamic footage
- Lighting equipment to accommodate varying conditions
- Sound equipment for high-quality audio during video recording
- Lenses suitable for both applications, such as wide-angle for landscapes and macro for detailed close-ups
5. Choose the Right Talent: Whether you're working with models, interviewees, or event participants, ensuring they know how to perform for both mediums is crucial. Conduct rehearsals if possible to highlight important cues.
Shooting Tips
Once everything is planned, it’s time to dive into the shoot itself. The following tips can enhance your experience and ensure effective capturing of both photos and videos:
1. Prioritize Lighting: Ensure optimal lighting for both photography and videography. Check if natural light will suffice, or whether artificial lighting will be necessary. Subject lighting can impact products or people differently, demanding thoughtful placements.
2. Keep the Flow: Ensure smooth transitions between photo and video segments. This may involve adjusting the scene slightly or organizing ideas logically to maintain momentum and ensure both modes of capture thrive in harmony.
3. Stay Flexible: While having a plan is essential, be open to spontaneous moments. Often in creative visuals, the best shots come from unplanned interactions or scenes; ensure your camera is always ready!
4. Review as You Go: Briefly reviewing previously shot clips can help gauge whether adjustments need to be made. This technique is much easier than reviewing everything after the shoot. Plus now is the time to change something if its not correct, saving you money on potential reshoots.
5. Incorporate B-roll: For video, B-roll footage can be vital for creating a compelling narrative. These additional clips can offer cutaway shots that provide context and depth, allowing you to fill gaps seamlessly while editing.
Editing Process
Once you have an arsenal of imagery and footage, the next significant step is editing. Efficiently sorting through your content and preparing it for distribution is essential:
1. Organize Files: Properly categorize all images and videos in a way that makes sense. Label files based on shoot location, subjects, types of shots, and quality. This organization is crucial for quicker access later.
2. Choose Your Software: Identify the editing software that fits your needs. Adobe Lightroom for photos and DaVinci Resolve for videos are golden standards, but there are many alternatives.
3. Stay Consistent with Edits: For cohesive branding, ensure styling remains uniform for both media. Consider using similar filters or color grading adjustments for video and photo to create visually pleasing results that feel part of the same campaign.
4. Seek Feedback: Before finalizing, getting feedback can be invaluable. Sometimes, an external eye can spot inconsistencies or missed details. Involve peers who understand your vision.
5. Render and Optimize: When exporting final versions, make sure they meet different media requirements. For social media or websites, this involves optimizing file sizes and formats for faster loading.
Conclusion
By integrating photography and videography into a single shooting session, you can significantly enhance the quality of your content while saving time and money. This approach not only streamlines your workflow but ensures a consistent brand presence across your channels.
So now what? Book a free consultation on our website to discuss how you can effectively capture your photos and videos in one seamless experience. Embrace this innovative way of storytelling to bring your brand’s vision to life and witness your audience engage more than ever before. Remember, every visual tells a story, make yours unforgettable!
Are you using imagery in your marketing?
If so, don't miss this free guide. It will help you avoid the 5 most common mistakes businesses make in their marketing imagery. Enter your email below to get your free guide.
We hate SPAM. We will never sell your information, for any reason.
